How to Install a Stampable Concrete Overlay (Pasto)
Stampable concrete overlays are one of the most popular ways to create the unique natural look of stone, wood, brick, slate, and other materials. They offer the same aesthetics as stamped concrete at a fraction of the cost because they can be applied to existing concrete substrates. Stamped concrete overlays can be applied as thin as ¼” over floors, driveways, patios, pool decks, walkways and other surfaces. They can even be applied to vertical surfaces.
Installing a stamped concrete overlay typically involves three steps. Firstly, prepare the surface by repairing the substrate, framing the area, and applying a primer. Next, prepare the cement based topping and apply it in the thickness desired. At this point coloring hardener may be used to enhance the effect. Using stamp mats, apply texture to the overlay. Finally, apply dyes or stains if desired, and seal the overlay with an acrylic sealer.
Pasto stampable concrete overlay by Duraamen is a polymer-modified cement based product specifically designed for stamped concrete overlays. It can be integrally colored and dyed or stained. It is excellent for retail, commercial and residential use both indoors and out.
Installing a Stamped Concrete Overlay
In this instructional how-to video series, Bob Harris of the Decorative Concrete Institute demonstrates the installation and possible creative techniques for creating a unique and attractive floor with a stamped concrete overlay.
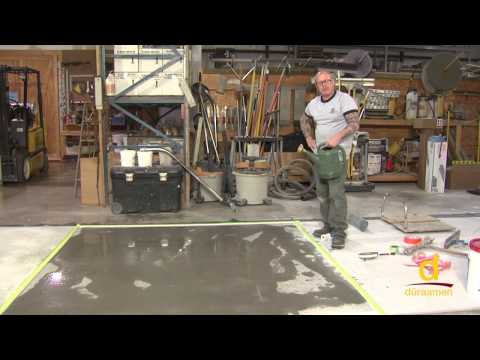
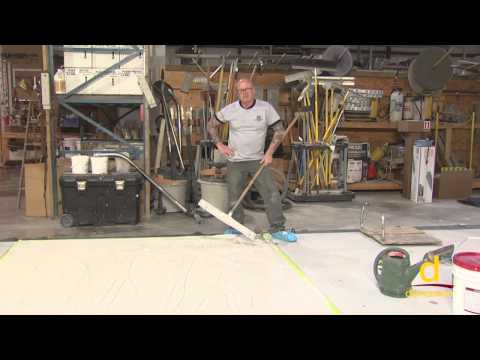
Video 1: Bob demonstrates framing and priming (CP1000) the substrate for the acceptance of a cement-based overlay (Pasto).
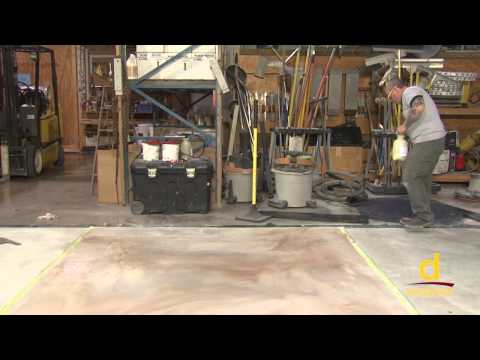
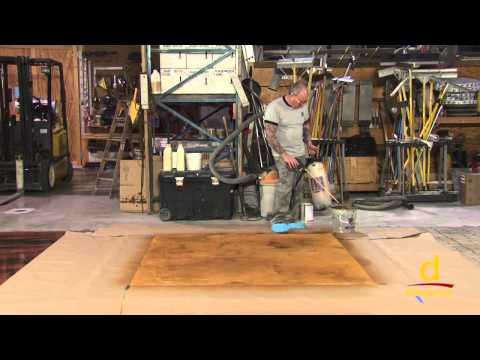
Video 2: Installation of a cement based overlay. Coloring techniques using a color hardener (Chromacast) and powdered dye (Colorfast) are also demonstrated.
Video 3: Shows the use of a release agent and methods of stamping with rubber mats.
Video 4: Creative techniques for final coloring and sealing with acrylic sealer (Perdure A01) are shown.