Installing a Resin Chip Flooring System
These installation videos demonstrate how professional garage coatings are applied to create durable and seamless garage floors using epoxy and polyaspartic systems. The step-by-step process shown in the videos highlights best practices for achieving long-lasting performance and a high-quality finish.
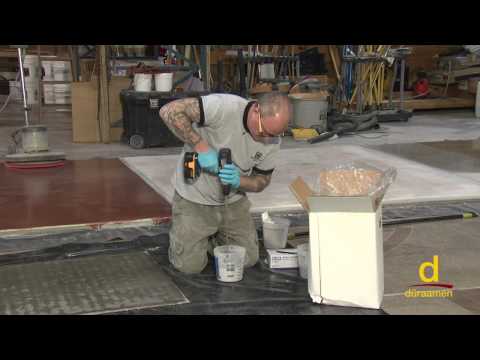
The process begins with proper surface preparation, where concrete garage floors are mechanically ground to remove contaminants and create a strong bond profile. This step is critical for all garage floor coatings to ensure adhesion and prevent premature failure.
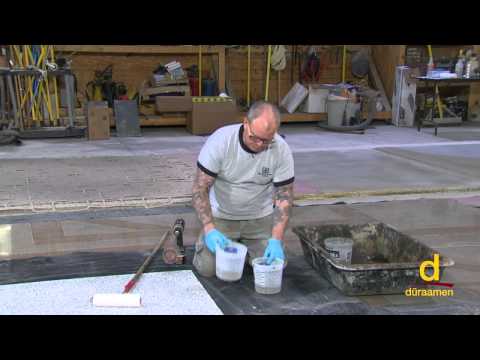
An epoxy primer such as Perdure E02 is then applied to the garage floor to seal the substrate and improve bonding between layers. The videos show how this primer penetrates the concrete and prepares it for the basecoat. The application of the primer is optional.
Next, a high-performance epoxy basecoat such as Endura E21 is applied evenly across the surface. While the basecoat is still wet, decorative vinyl flakes are broadcast to create a textured, slip-resistant finish commonly used in garage coatings.
After curing, excess flakes are removed to create a smooth and uniform surface before applying the final topcoat. The system is completed with a polyaspartic coating such as Perdure P72, which provides UV stability, fast curing, and long-term durability.
These garage coatings installation videos provide a clear understanding of how epoxy and polyaspartic systems work together to create high-performance garage floors. Whether for residential garages or commercial spaces, this system delivers a seamless, easy-to-maintain surface designed for daily use.
If you are a DIY enthusiast and want to purchase a kit for your garage floor, please click the following link –
Epoxy-Polyaspartic Garage Flooring Kit.