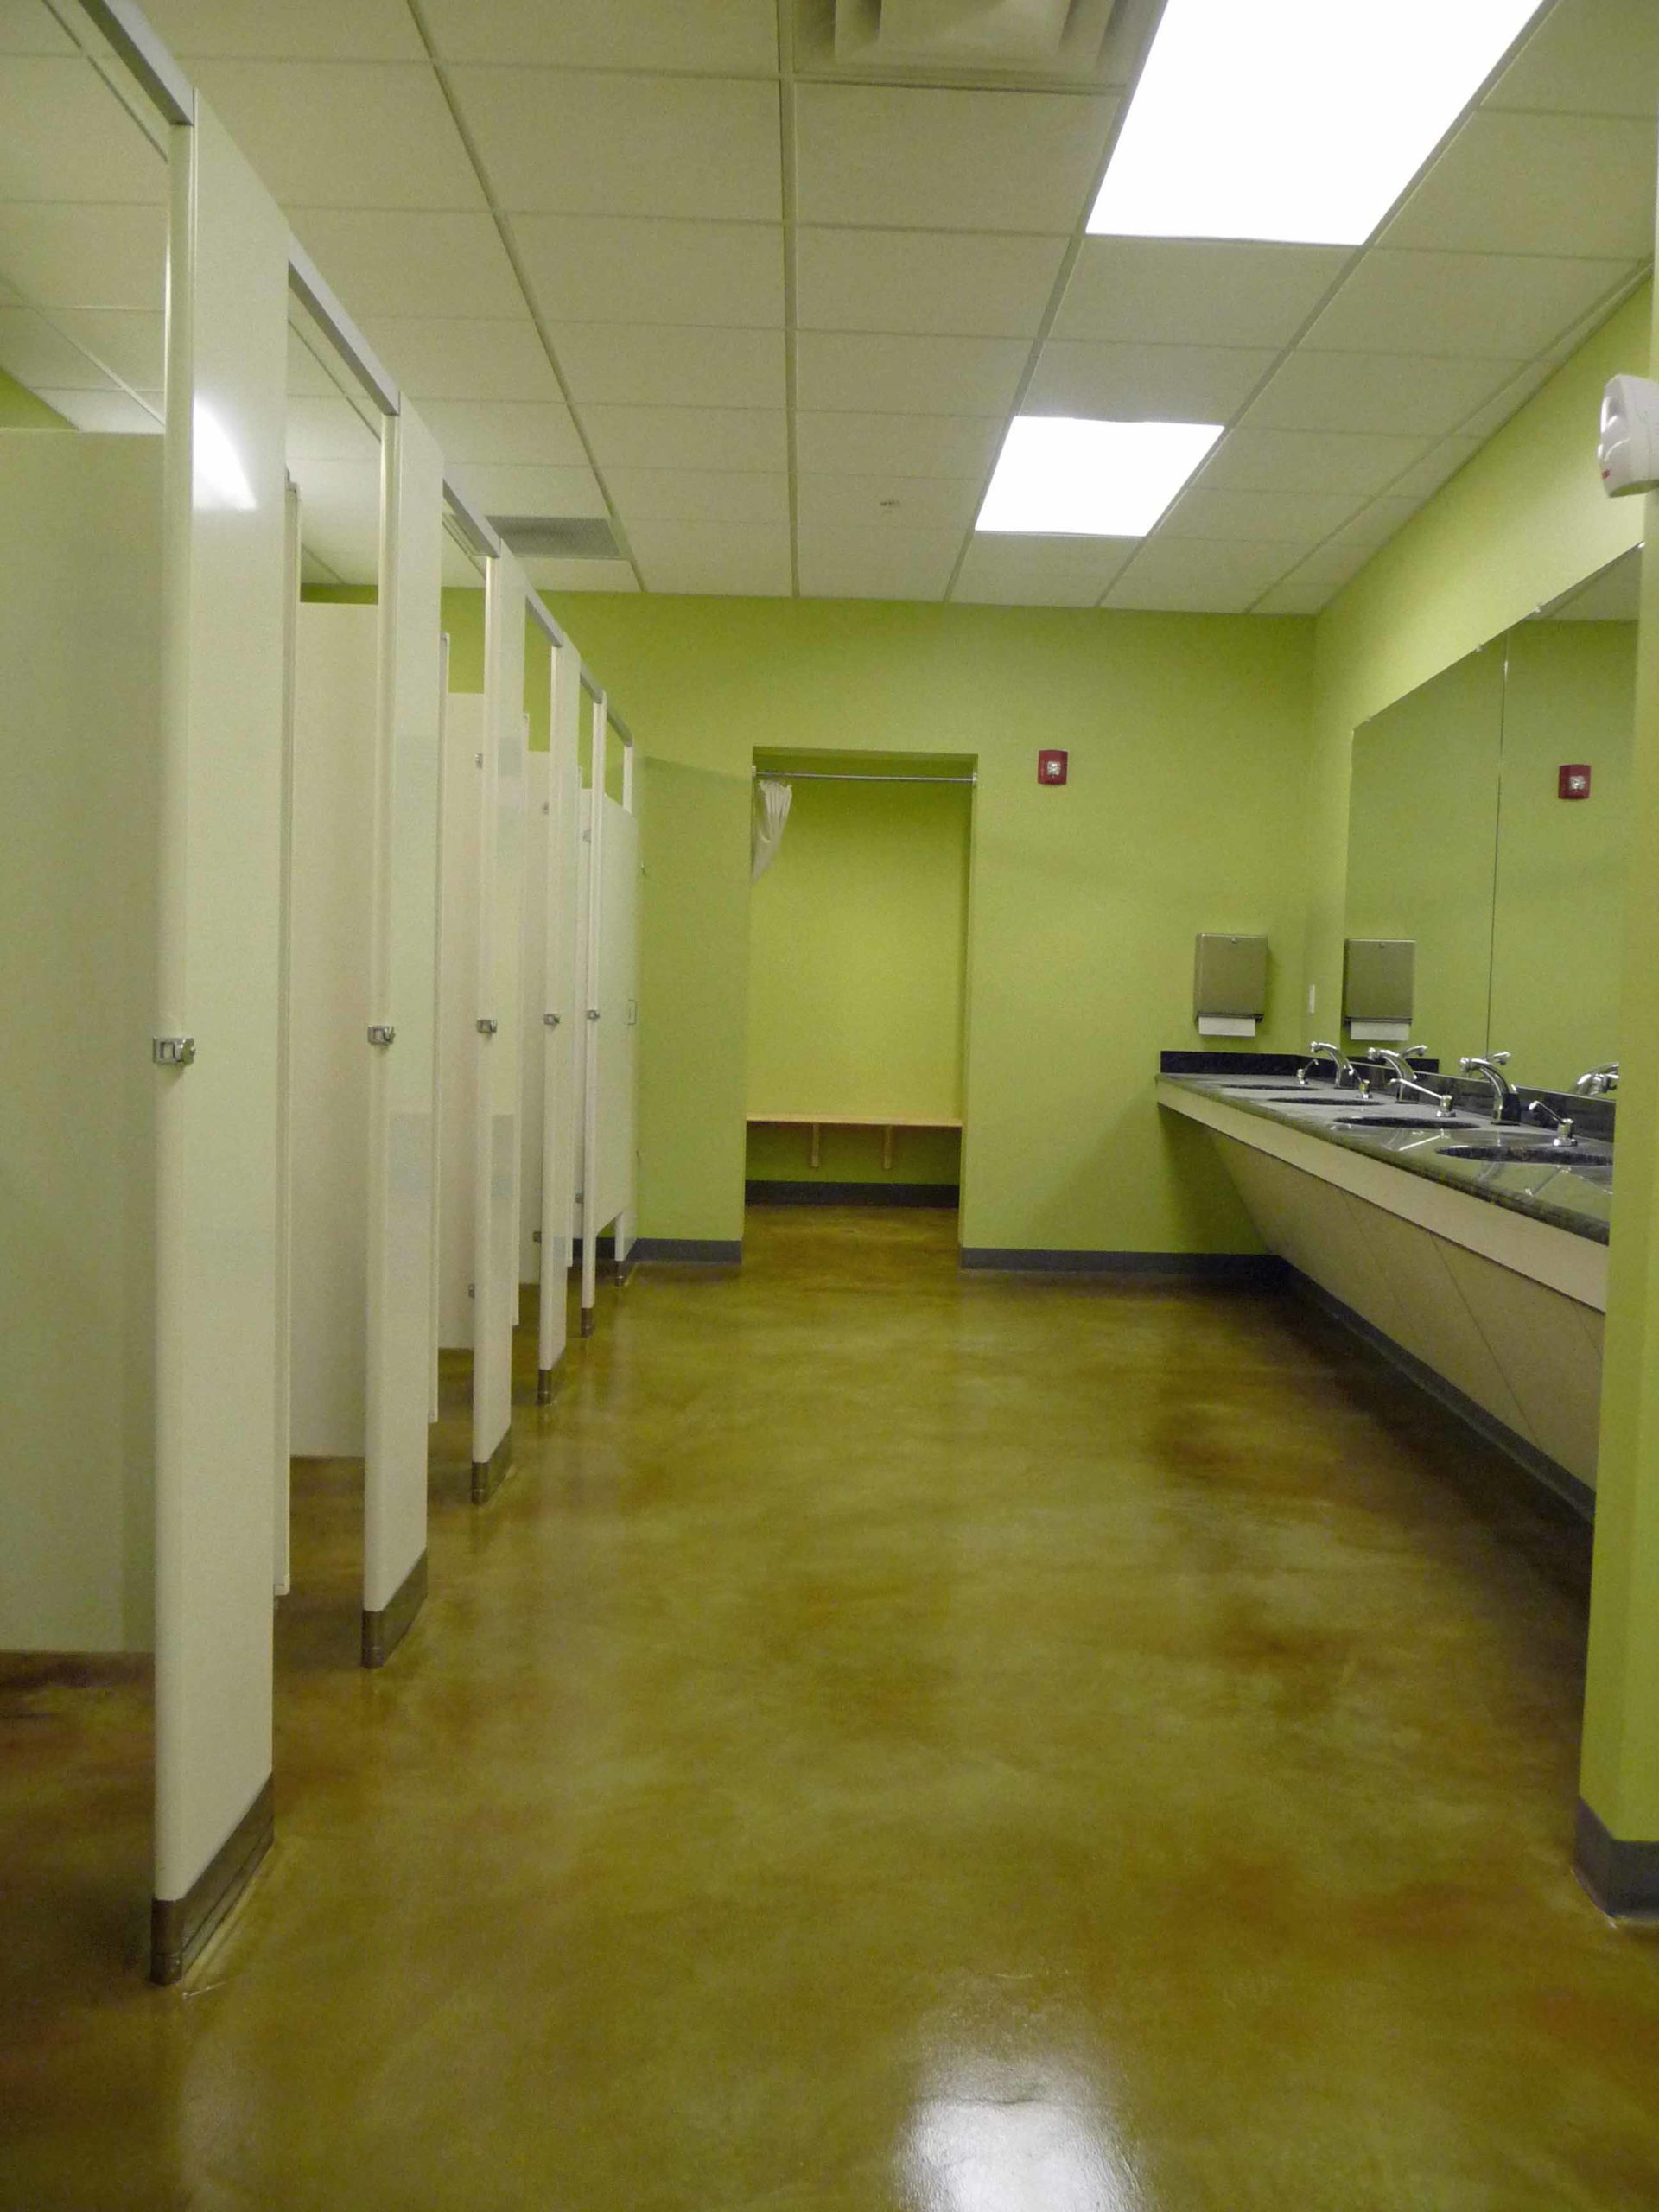
Chemical staining concrete produces rich, deep, translucent tones unlike paints or coatings that produce a solid, opaque effect. Depending on the color and application techniques used, the results can mimic everything from polished marble to tanned leather to natural stone or even stained wood.
To avoid problems when applying acid stains to driveways and patios, it is crucial to follow the proper procedures and understand the basics of the staining process. Here are some essential steps to help you achieve good results:
1. Surface preparation: Begin by thoroughly preparing the concrete surface. Conduct a water test to check its porosity and ability to react with the stain. Look for any dry spots or water beading, as these indicate the need for additional preparation. Consider using methods like dry sanding, chemical degreasers, or mineral acid cleaning to improve stain penetration. It is also advisable to conduct a moisture-vapor emission test to assess the moisture levels in the concrete.
2. Stain application: Apply the stain carefully, ensuring not to overapply, especially on less-porous concrete surfaces or when using darker stain colors. For better penetration and reaction, you can use a broom or walk-behind scrubber. Allow the stain to dwell for at least 5 hours and repeat the procedure if you desire a darker color.
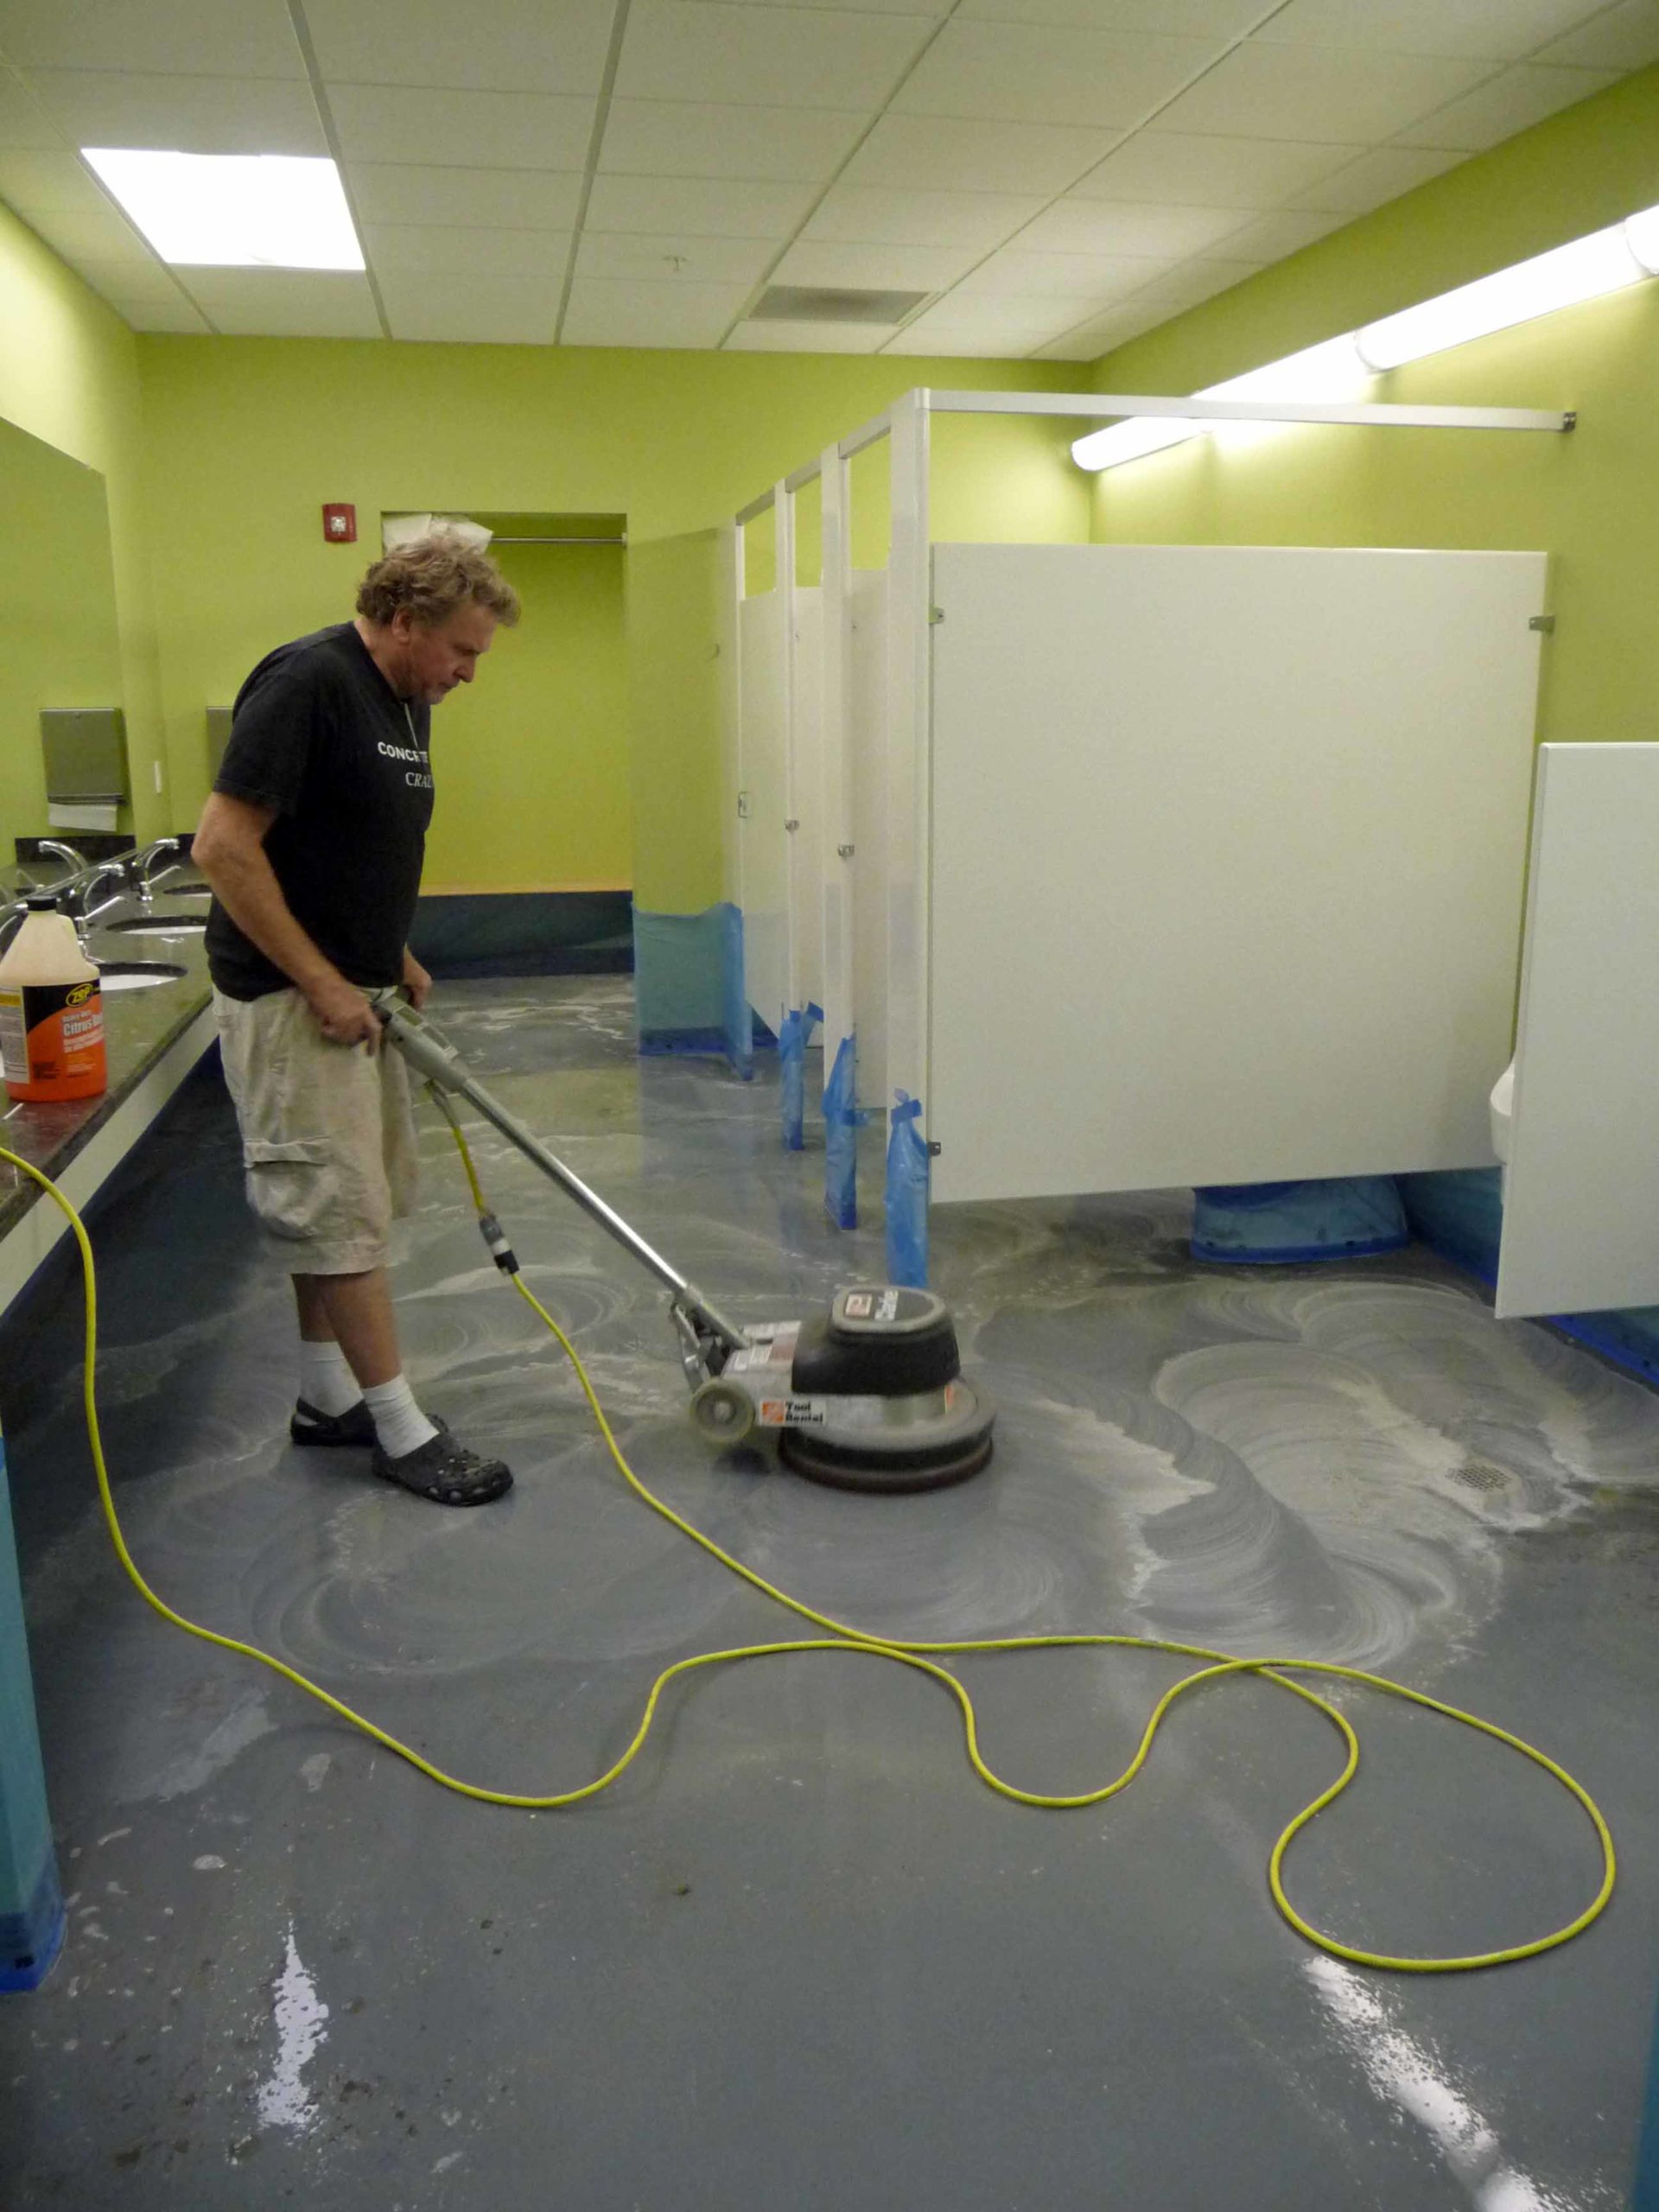
3. Neutralizing and washing: Many people overlook this step, but it is crucial to neutralize the concrete and remove any unreacted stain and residue. Acid stain transforms the concrete from a basic pH state to an acidic state, so it is important to return the surface to a basic state. Scrub the surface with an alkaline soap to break down any stain residue and neutralize it. Simply rinsing with water is not sufficient. Multiple scrubbings may be necessary. Test the pH to ensure proper neutralization, then rinse with clean water and allow the surface to dry before proceeding.
4. Sealing and maintenance: Once the surface is dry, apply a sealer to protect and enhance the stained floor’s appearance. Use a sealer system that includes a base-coat sealer and a sacrificial topcoat sealer or wax. Even if you follow all the proper steps, variations can still occur, so it is always advisable to apply a sample of the stain for each project. Consult the stain manufacturer’s guidelines and refer to reputable resources like ConcreteNetwork.com for detailed instructions and troubleshooting tips.
By adhering to these guidelines and understanding the staining process, you can greatly minimize problems when applying acid stains to driveways and patios.
The chemical stains (or acid stains) react with the concrete’s lime content and produce the color. If the concrete surface is painted or sealed, acid stains cannot penetrate the concrete and react with the lime. Therefore, a concrete surface that is painted or sealed cannot be acid stained.
Do you have to remove the paint or sealer from the concrete surface to acid stain it?
Not necessarily!
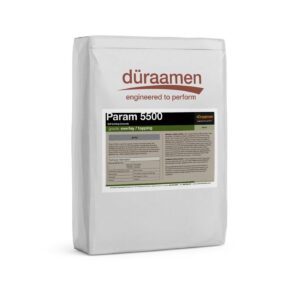
With the advent of latest acrylic polymer modified concrete, it is possible to apply a thin layer (1/8inch thick) of concrete over an existing painted or sealed concrete surface with minimal surface preparation. Please find below typical steps involved in applying a micro-topping / concrete overlay and acid staining over a painted or sealed concrete surface.
- Run a sander with 60 grit sanding screen over the entire surface. To ensure that the paint or sealer is bonded to the substrate, run the sander for at least 1 hour for every 1000ft2.
- Rinse the floor with mild detergent and allow it to dry completely.
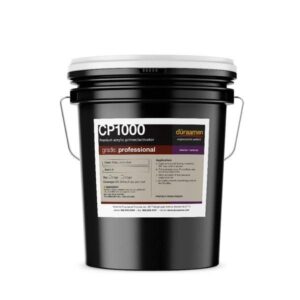
- Apply a liberal coat of acrylic primer, CP1000.
- Allow this primer cure overnight (at least 10 hours).
- Apply a second coat of acrylic primer, CP1000. The second coat needs to be applied just to damp the surface.
- Once the primer turns clear and it is dry to touch, it is ready to accept the concrete overlay.
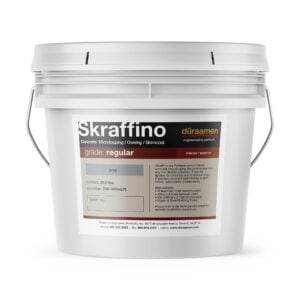
- Apply the concrete micro topping, Skraffino. A minimum of two coats is recommended. Skraffino is available in two bases – Grey and White. It is available in three different grades – Regular, Fine and Superfine.
- After 24 hours of the curing of Skraffino micro topping, it is ready to accept acid stains (chemical stains).
- Spray the acid stain, Patinaetch at the rate of 250ft2/gal. Allow it to react for with the lime in the concrete for at least 2-3 hours. Follow the standard process of cleaning off the residue. Pay particular attention to cleaning the residue and neutralizing the surface with ammonia.
- Allow the surface to dry for at least 24 hours, before sealing it with one coat of water based epoxy, Perdure E32 and one coat of water based polyurethane, Perdure U46.
- You can watch the complete installation process on this page – https://www.duraamen.com/video-gallery/how-install-concrete-overlays-microtoppings-skimcoats
- Please note that this system works as long as the paint is well bonded to the substrate. Before proceeding with this installation ensure that the paint is well bonded to the substrate.
Please Contact Us to discuss your next concrete flooring project.
